No products in the cart.

- Jul, Wed, 2023

Restore Your MacStartup Disk to Another Drive
Welcome to our step-by-step guide to Restore your Mac startup disk to another drive. Learn how to prevent data loss by backing up your Mac startup disk, and how to troubleshoot common problems during the restoration process. Restore your Mac with confidence today!
Introduction to Mac Startup Disk Restoration
Has your startup disk ever failed? If it has, you know how scary it can be to lose all your data. But fear not! By following a few simple steps, you can restore your Mac startup disk to another drive and ensure that your data is safe and secure.
| Backup Your Startup Disk First | Choose the Right Drive | Be Patient |
|---|---|---|
| Before beginning the restoration process, make sure to backup your startup disk. This will prevent data loss in case anything goes wrong. | When restoring your Mac startup disk, be sure to choose the right external drive. This will ensure that everything is restored correctly. | The process of restoring your startup disk can take some time. Be patient and let your Mac do its thing. |
Importance of Backing Up Your Startup Disk
Backing up your Mac startup disk is crucial in case anything goes wrong. This ensures that all your data is safe and that you can easily restore your Mac from the backup if necessary.
| Time Saving | Protection Against Data Loss | Peace of Mind |
|---|---|---|
| Backing up your startup disk will save you time when you need to restore your Mac. You won’t have to start everything from scratch. | If your startup disk fails, you won’t have to worry about losing all your data. With a backup in place, you’ll be able to restore your data easily. | Knowing that your data is safe and secure provides peace of mind. In case you need to restore your Mac, you’ll be able to do so without any worry. |
Preparation for Restoring Your Startup Disk
Before you begin restoring your Mac startup disk, it’s important to have everything you need ready. This will make the process much smoother and less stressful.
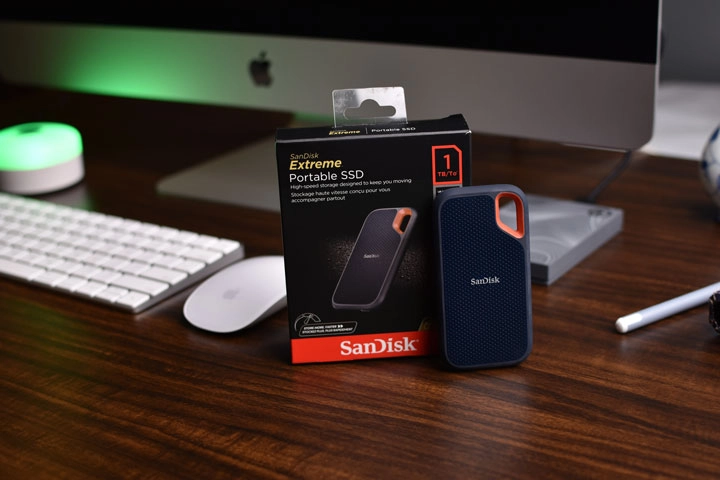

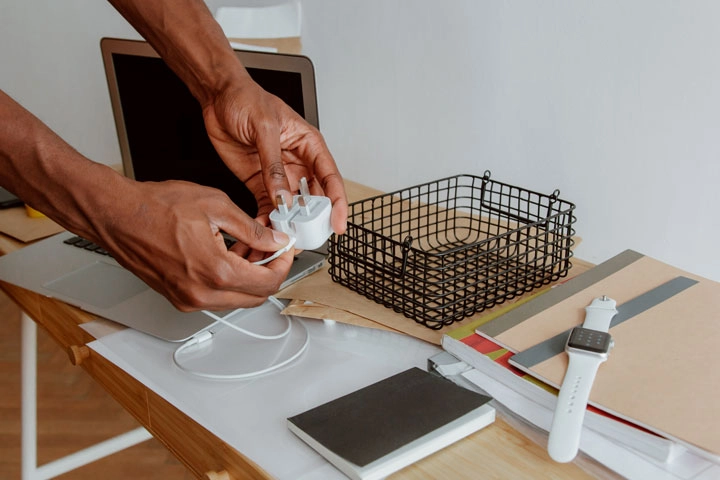
| External Drive | Keyboard and Mouse | Charger |
|---|---|---|
| Make sure you have an external drive with enough space to hold your backup. | You’ll need a keyboard and mouse to navigate the restoration process. | Make sure your Mac is fully charged or plugged in during the restoration process to avoid any interrupted process. |
Step-by-Step Guide to Restoring Your Startup Disk
With the right preparation and tools in place, restoring your Mac startup disk is a breeze. Follow these simple steps to make sure everything goes smoothly.
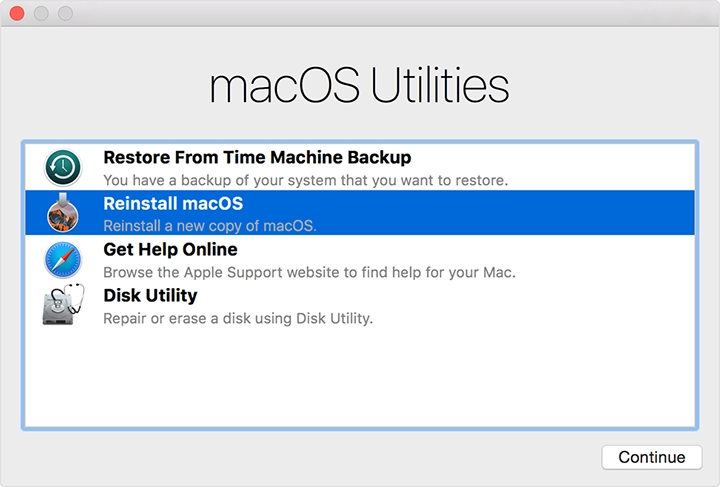
| Step 1: Boot Your Mac in Recovery Mode | Step 2: Select the Restore from Time Machine Backup Option | Step 3: Choose the Right Backup Disk | Step 4: Begin the Restoration Process |
|---|---|---|---|
| To begin, restart your computer and hold down Command + R until the Apple logo appears. This will boot your Mac into recovery mode. | From the recovery menu, select “Restore from Time Machine Backup”. This will bring up the Time Machine menu. | Select the backup disk that you created previously to start the restoration process. | Click “Restore” to begin the process and wait until it’s completed and done. |
Time and Resources Required for Disk Restoration
Restoring your Mac startup disk requires some time and resources, but with the right preparation and tools, it’s a smooth process. The time required will depend on the amount of data that needs to be restored
- The restoration process can take several hours.
- You’ll need an external drive with enough space to hold your backup.
- Make sure your Mac is fully charged or plugged in during the restoration process to avoid any interrupted process.
Troubleshooting Common Issues During Disk Restoration
Even with the best preparation, issues can still occur during the disk restoration process. Here are some
common problems and how to troubleshoot them.

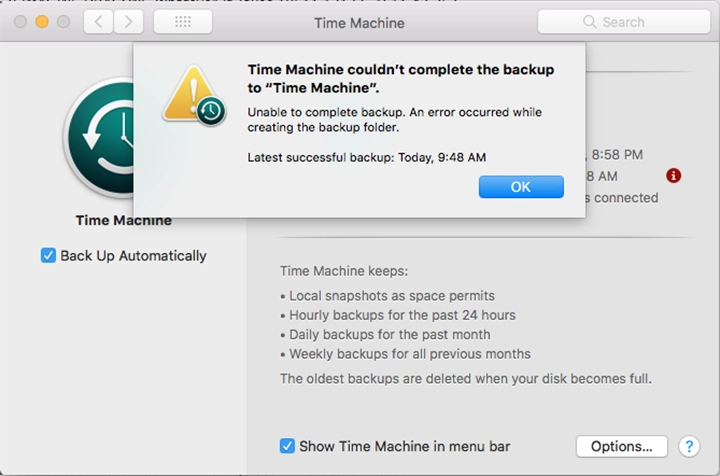
| Swap Folder Error | Time Machine Error | Recovery Mode Not Working |
|---|---|---|
| If you see a swap folder error, simply restart recovery mode by holding down Command + R. | If you encounter a Time Machine error, unplug and replug your external drive. | If recovery mode isn’t working, try booting from your backup disk. |
Conclusion and Final Tips
You’ve successfully restored your Mac startup disk to another drive! Remember to always backup your startup disk to prevent data loss in the future. You can also use this process to transfer your files to a new Mac. Feel free to contact us for more information and assistance.