No products in the cart.


Recover Your Data
Best Data Recovery Solutions Software IN-LAB Services VIA REMOTE
Our data recovery software and service solutions empower you to get your data back in any data loss situation. Whatever be the reason of data loss, our experts recover your important data from internal & external storage media, desktop, laptop, server, and other storage systems.
- Hard Disk
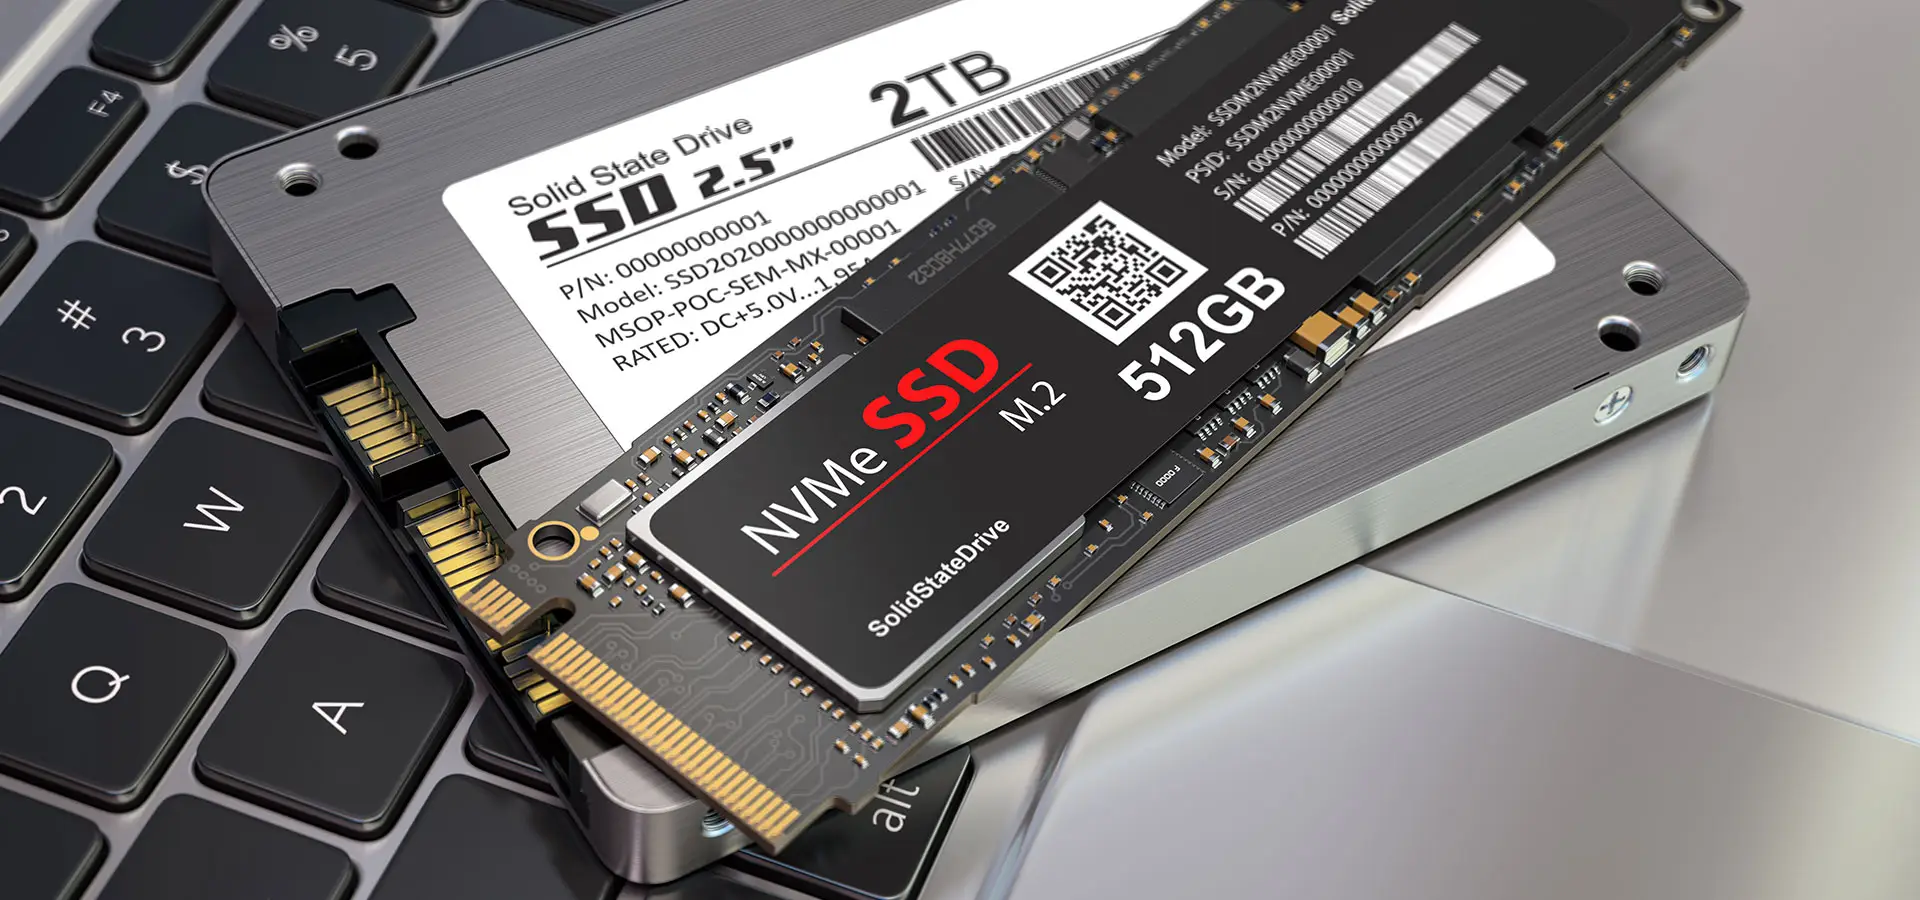
- SSD
- CCTV
- NAS
- RAID
- Cloud
Our Services
100% Data Erasure Beyond Recovery File Eraser Drive Eraser Data Wiping Service
Data is your biggest business asset. Our safe & secure data erasure solutions ensure that your data is never compromised at the end of the device lifecycle. Our cutting-edge technology guarantees permanent wiping of sensitive data from hard drive, SSD, desktop, laptop & server. Our DIY drive wiping solutions generate tamper-proof reports & certificates to help you meet the statutory & regulatory compliance.


DATA RECOVERY IN-LAB SERVICE
Recover data from all storage devices India’s Only Certified "Clean Room"

DATA RECOVERY VIA REMOTE
Recover data at your comfort Contactless & quick recovery Safe, secure & confidential
Data Wiping Service
Secure, Confidential & Trusted Guaranteed data wiping On site & off site service Certificate of data wiping
Why Choose Us
Find Out More OurFeatures Features Features
Choose data recovery services to retrieve data in complex scenarios such as physically crashed hard drive, firmware corruption, RAID crash due to drive failure, file system corruption, & more.